Prerequisites:
1. IBM Cognos 10.1 installation.
2. IBM Websphere 6.1 installation.
5. Select “Application Server” and click “Next”.
7. If you want to enable administrative security, provide a username and password.
8. Review the profile settings, also note down the HTTP transport port from here (this would be used in configuring Congos). Click on “create” to to finish.


16. On the left hand side, expand “servers” then click on “application servers”. You'll see “server1” in the right pane
18. Under “Server Infrastructure”, navigate to “Java and Process Management” → “Process Definition”.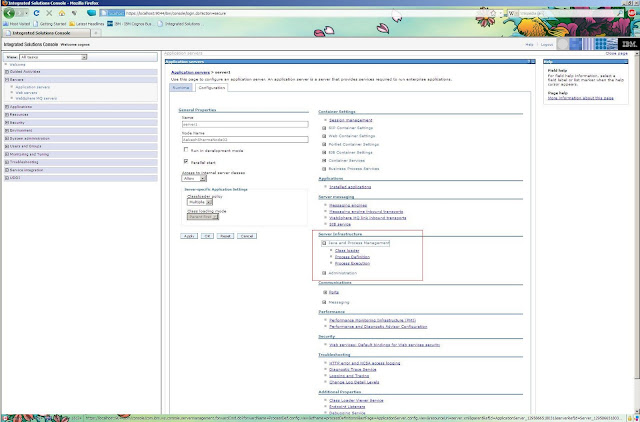
19. Under “Additional Properties”, click on “Java Virtual Machine” to set JVM parameters for Cognos.
23. Give name as “PATH” and value as “<your Cognos 10 installation>\bin”. Click on OK.
8. In menu, go to Actions-> Build Application Files.
9. By default, IBM Cognos is selected and Application Server Type is Websphere. No need to change, click on Next.
1. IBM Cognos 10.1 installation.
2. IBM Websphere 6.1 installation.
Preparing IBM Websphere
1. After you have installed IBM Websphere, a profile is created by default.
2. It is recommended that you create a new profile for Cognos.
3. Launch “Profile Management Tool” from IBM Websphere installation.
4. Click Next
5. Select “Application Server” and click “Next”.
6. Choose “Typical Profile Creation” and click on “Next”
7. If you want to enable administrative security, provide a username and password.
8. Review the profile settings, also note down the HTTP transport port from here (this would be used in configuring Congos). Click on “create” to to finish.
10. When complete, it'll ask you to launch “first steps console”. Click on finish to launch that.
11. In first steps console, click on “start server” to start your server. Administrative console can only be launched after the server has started. Alternatively, you can start server by

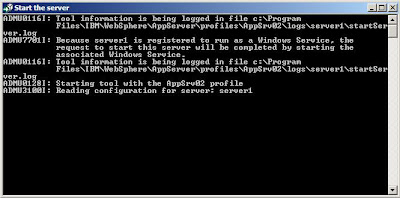
12. While starting a server, screen would look like this

13. On successful start of server, the above window closes automatically. Then launch administrative console by
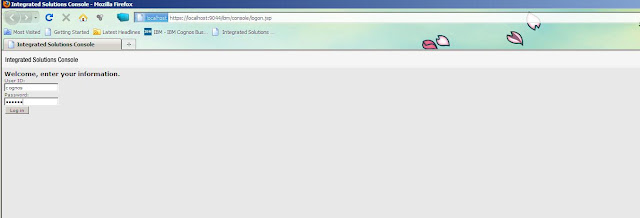
14. Administrative console would look like this. Provide credentials which were used while creating profile to login.
15. Welcome page of IBM Websphere would look like this.
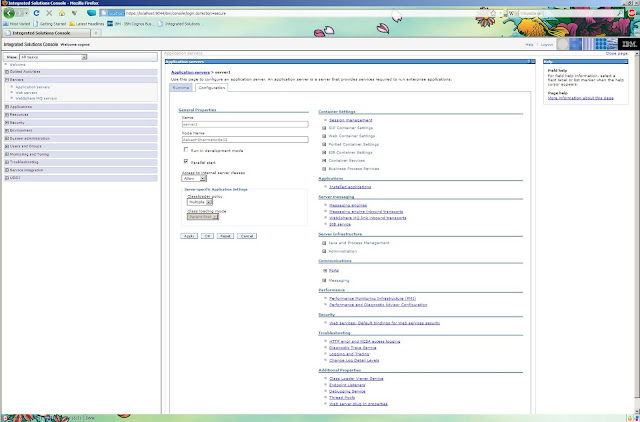
16. On the left hand side, expand “servers” then click on “application servers”. You'll see “server1” in the right pane
17. Click on “server1”. You'll see a lot of configuration settings.

18. Under “Server Infrastructure”, navigate to “Java and Process Management” → “Process Definition”.

19. Under “Additional Properties”, click on “Java Virtual Machine” to set JVM parameters for Cognos.
20. Set Initial and Max heap sizes for JVM. Click on OK to finish.
21. Now, under “Java Virtual Machine”, click on “Environment Entries”.
22. Click on New to create a new environment variable.
23. Give name as “PATH” and value as “<your Cognos 10 installation>\bin”. Click on OK.
24. Click on “Save” to save your changes to configuration.
Preparing Cognos 10.1
1. Copy “bcprov-jdk14-134.jar” from
<%Cognos 10 Installation%>\bin\jre\6.0\lib\ext to <%IBM Websphere%>AppServer\java\jre\lib\ext.
2. Create an environment variable “JAVA_HOME” with value
<%IBM Websphere%>AppServer\Java\jre.
3. Launch Cognos 10.1 Configuration.
4. Using the port number identified in step 9 of “preparing IBM Websphere”. In our case it's 9081. Modify the port numbers in URI of dispatcher and content manager
5. Don't forget to modify port in Portal Services.
6. Delete Cognos Tomcat Service Configuration under IBM Cognos Services.
7. Save Cognos Configuration.
8. In menu, go to Actions-> Build Application Files.
9. By default, IBM Cognos is selected and Application Server Type is Websphere. No need to change, click on Next.
10. Again, by default EAR file is selected. Change location path where .ear file would be generated, if required.
11. After finishing, 'p2pd.ear' file would be generated in your <%Cognos 10 Installation%>.
Integrating Cognos 10.1 with Websphere.
1. Launch Websphere Administrative Console. Provide credentials and login.
2. On left hand side, expand “Applications”, click on “Install new application” and browse and select 'p2pd.ear' that was build in earlier steps. No need to provide any information in context root. Click next.
3. Continue with default settings. Click next.
4. On next page, select the check-box before IBM Cognos. And click on next.
5. Again on next page, select the IBM Cognos module. And click next.
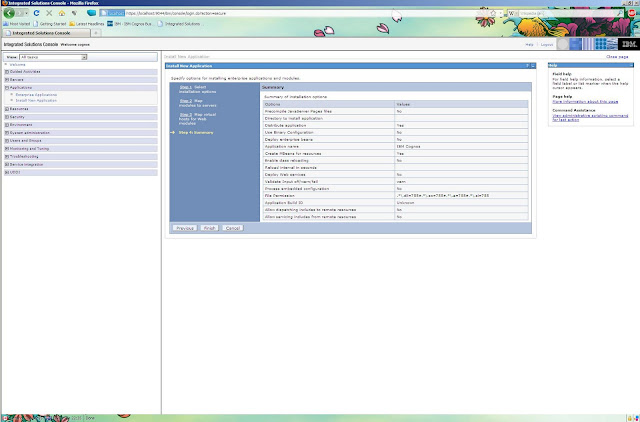
6. On summary page, click finish to complete deployment.
7. After you click finish, Websphere will install the application for you. Your page would look like this. Click on save to save the changes. Restart Websphere to start Cognos.


