About a month back, I wrote how to deploy Cognos 10.1 on Websphere. However, I missed an important setting in it. Though logically, IBM Websphere detects and uses a free port for its application server, I didn't point out flexibility of changing it.
Users had to change the port in their IBM Cognos configuration, as mentioned in step 4 of preparing Cognos 10.1. Let me now show you how to configure IBM Websphere on a port that you want Cognos 10.1 to run.
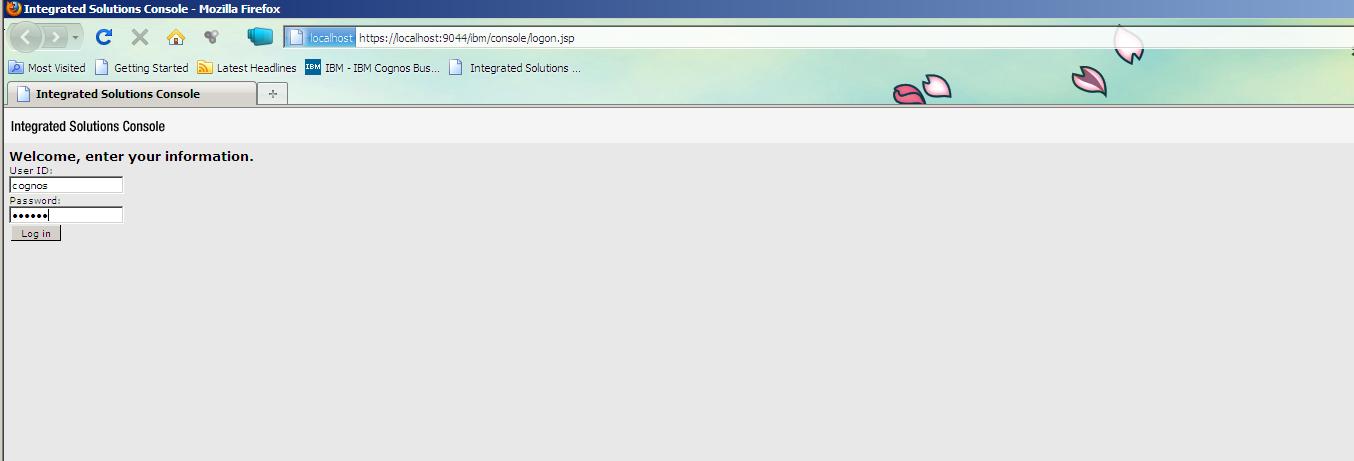
1. Launch admin console of IBM Websphere.
2. Click on Application Servers, under Servers in the left side pane. You'll see server1, your Node and your version in right pane.

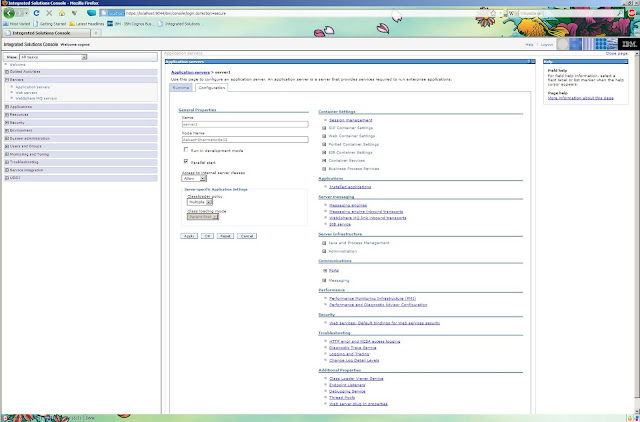
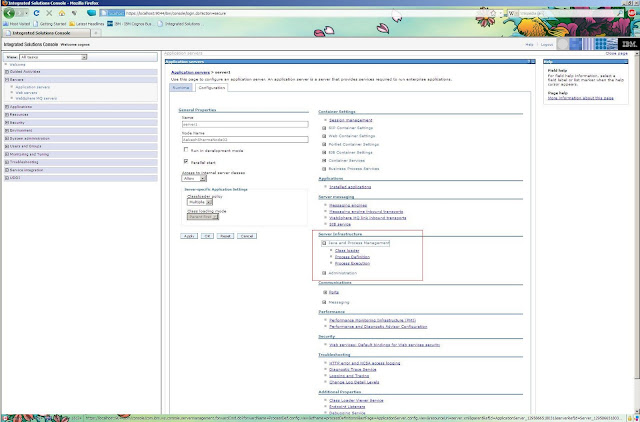
3. Click on server1, you'll a lot of properties related to your IBM Websphere profile. Under Communications, expand Ports.

4. Clicking on Ports, will lead you to a page where you can modify ports used by IBM Websphere.

5. Click on WC_defaulthost to change it. It'll open up a new page, where you can change it. Since, Cognos by default uses port 9300, let's input that in here. Click on OK to apply changes.

6. If any of your applications running on your IBM Websphere is currently using the old WC_defaulthost port, it'll throw up something like this. You don't need to worry. Just click on save changes. Stop your applications. Modify ports in those applications and upgrade applications.
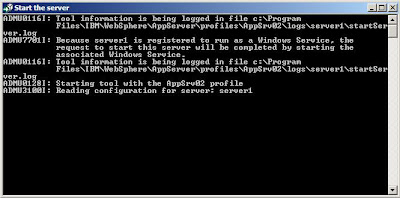
If no application was running, click on save and restart IBM Websphere server profile to apply the changes. For deploying Cognos, the steps remain the same.

If you face any problems or would like to discuss more on this, please leave a comment.
Users had to change the port in their IBM Cognos configuration, as mentioned in step 4 of preparing Cognos 10.1. Let me now show you how to configure IBM Websphere on a port that you want Cognos 10.1 to run.
1. Launch admin console of IBM Websphere.
2. Click on Application Servers, under Servers in the left side pane. You'll see server1, your Node and your version in right pane.

3. Click on server1, you'll a lot of properties related to your IBM Websphere profile. Under Communications, expand Ports.

4. Clicking on Ports, will lead you to a page where you can modify ports used by IBM Websphere.

5. Click on WC_defaulthost to change it. It'll open up a new page, where you can change it. Since, Cognos by default uses port 9300, let's input that in here. Click on OK to apply changes.

6. If any of your applications running on your IBM Websphere is currently using the old WC_defaulthost port, it'll throw up something like this. You don't need to worry. Just click on save changes. Stop your applications. Modify ports in those applications and upgrade applications.
If no application was running, click on save and restart IBM Websphere server profile to apply the changes. For deploying Cognos, the steps remain the same.

If you face any problems or would like to discuss more on this, please leave a comment.


